Appearance
Phase 1: Setup & Onboarding
This phase covers the foundational setup required for all users to participate in PayPledge transactions. It includes admin wallet creation, user onboarding, and initial account verification.
Phase Overview
Step-by-Step Process
1. Admin Setup
Prerequisites for Platform Operation
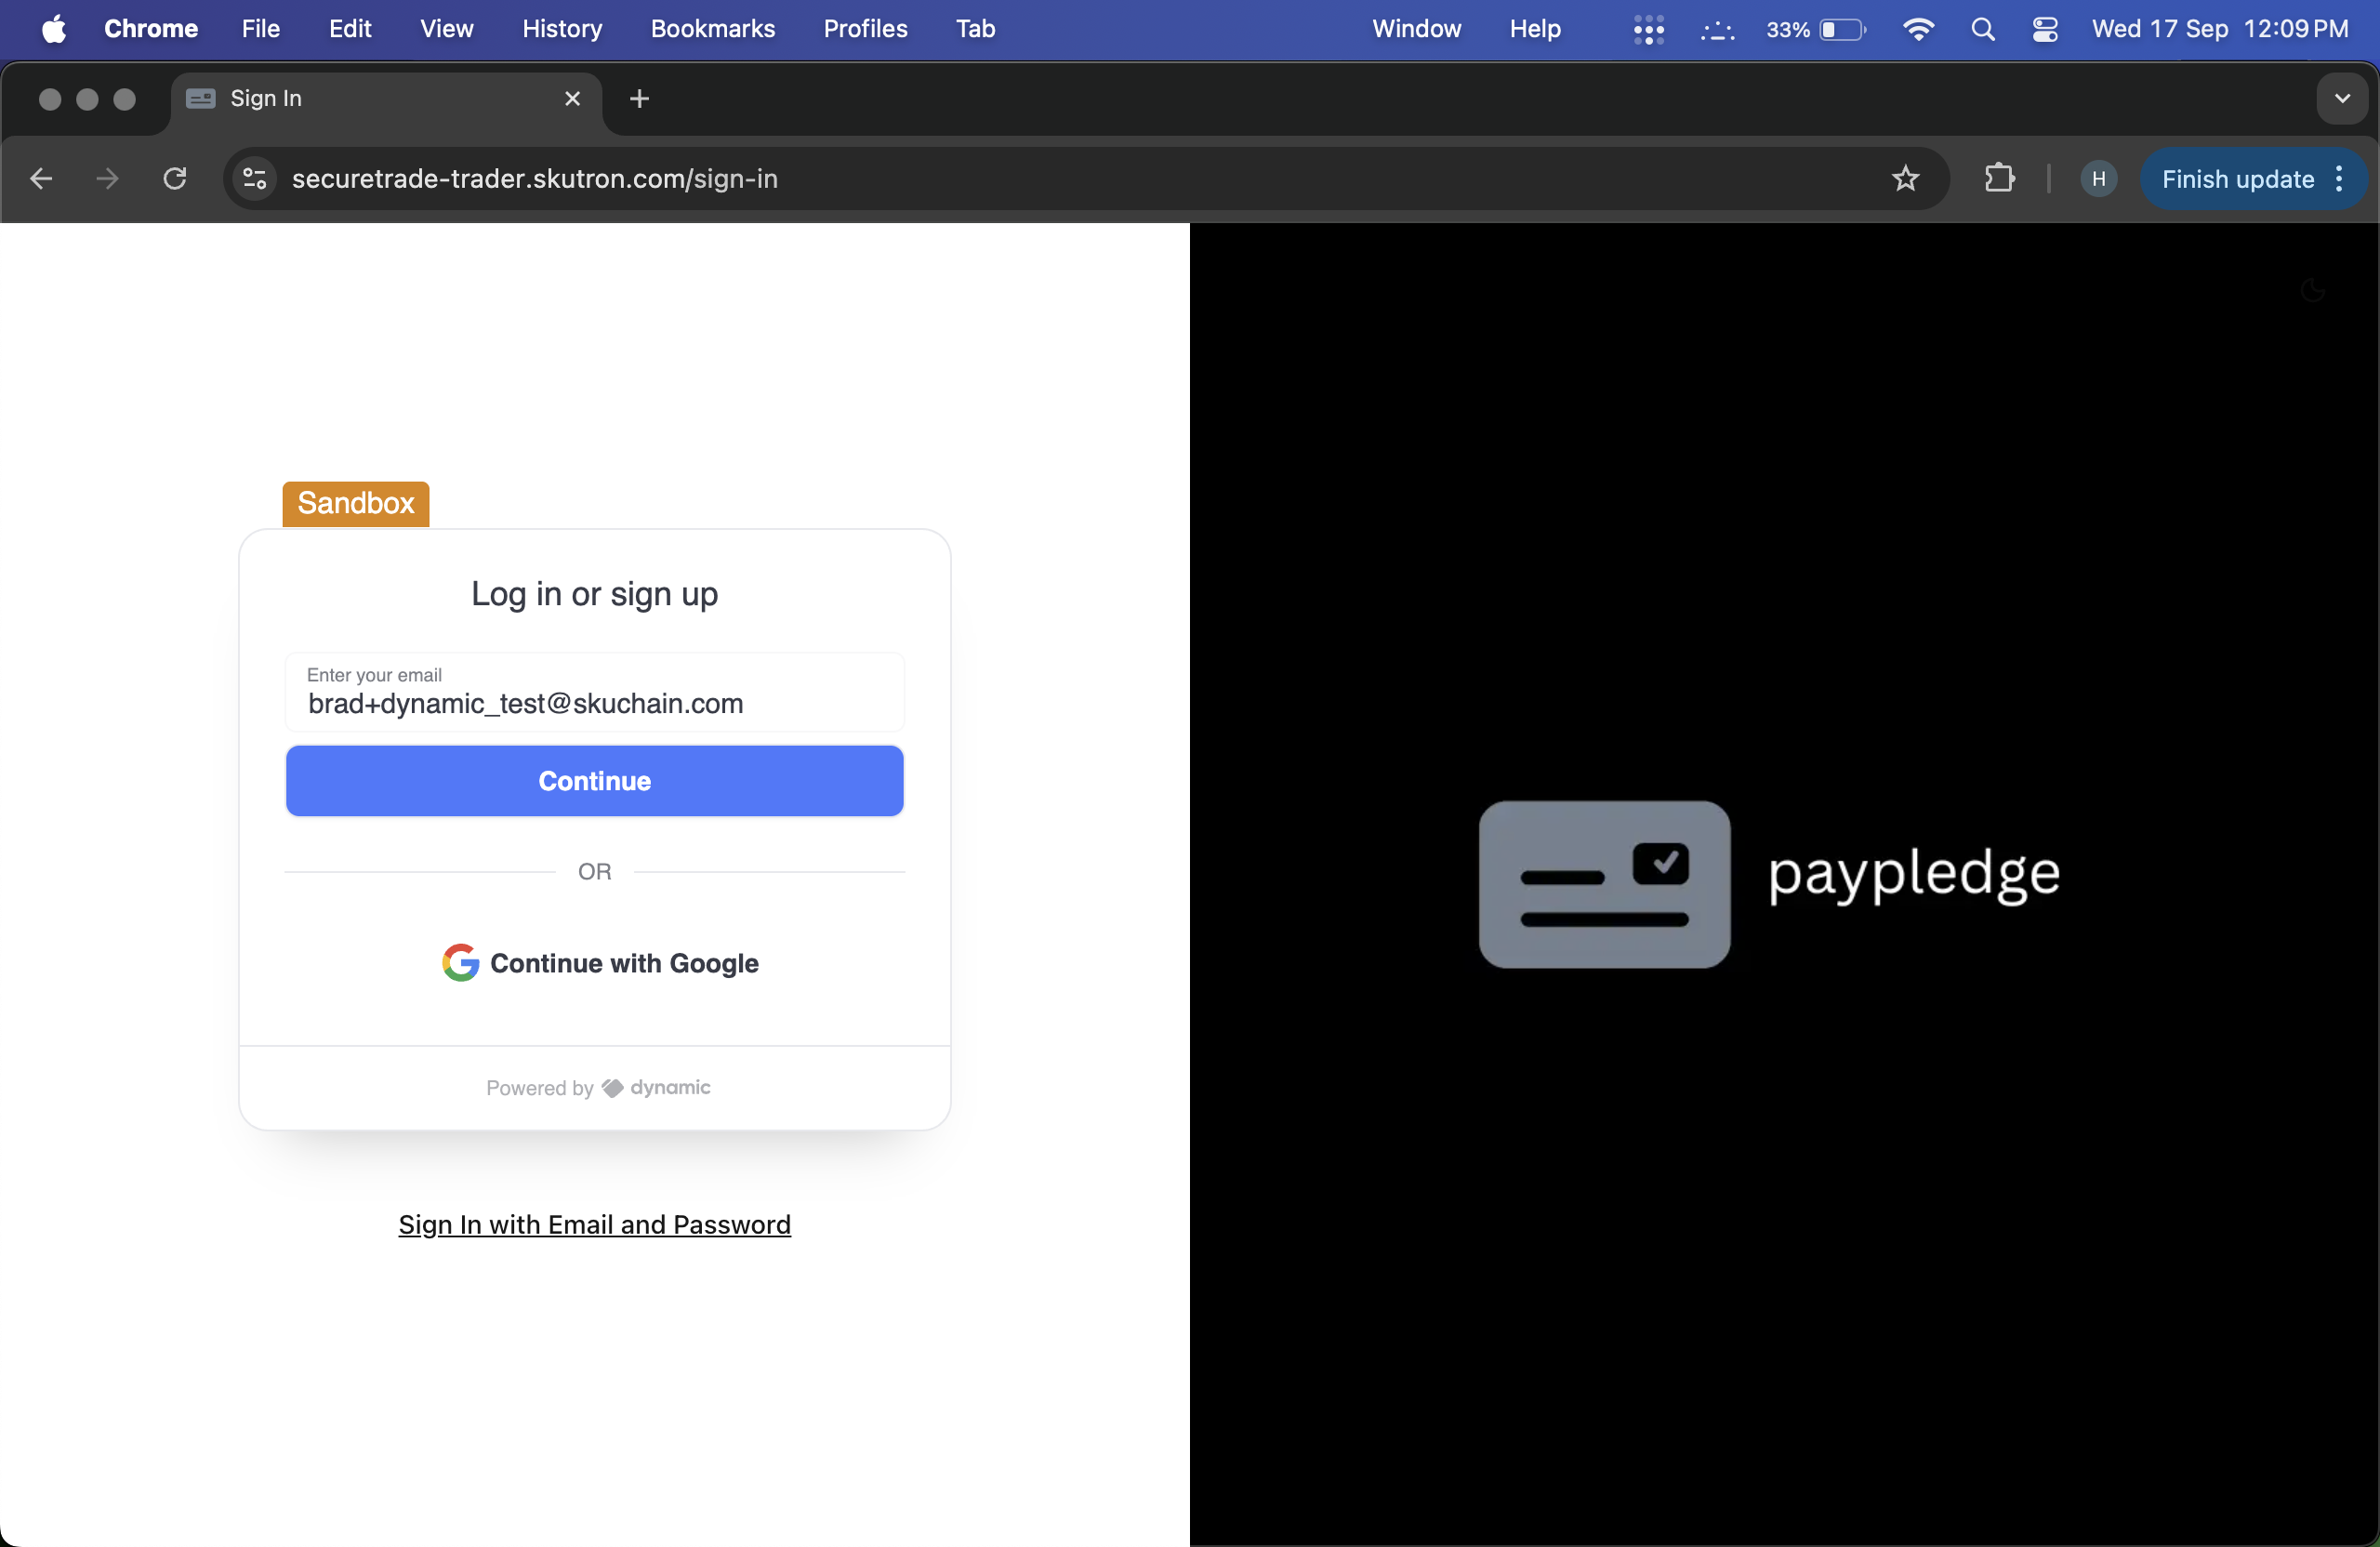
- Action: Admin creates wallet addresses for users through email
- System Response: Wallet addresses generated and linked to email accounts
- Screenshot:
- Video: Admin Setup
Key Actions:
- Generate buyer wallet addresses via email
- Fund wallets with ETH and TRADE-S tokens
- Set up initial account balances
- Configure user permissions
2. User Onboarding
Account Setup for All User Types
Buyer Onboarding
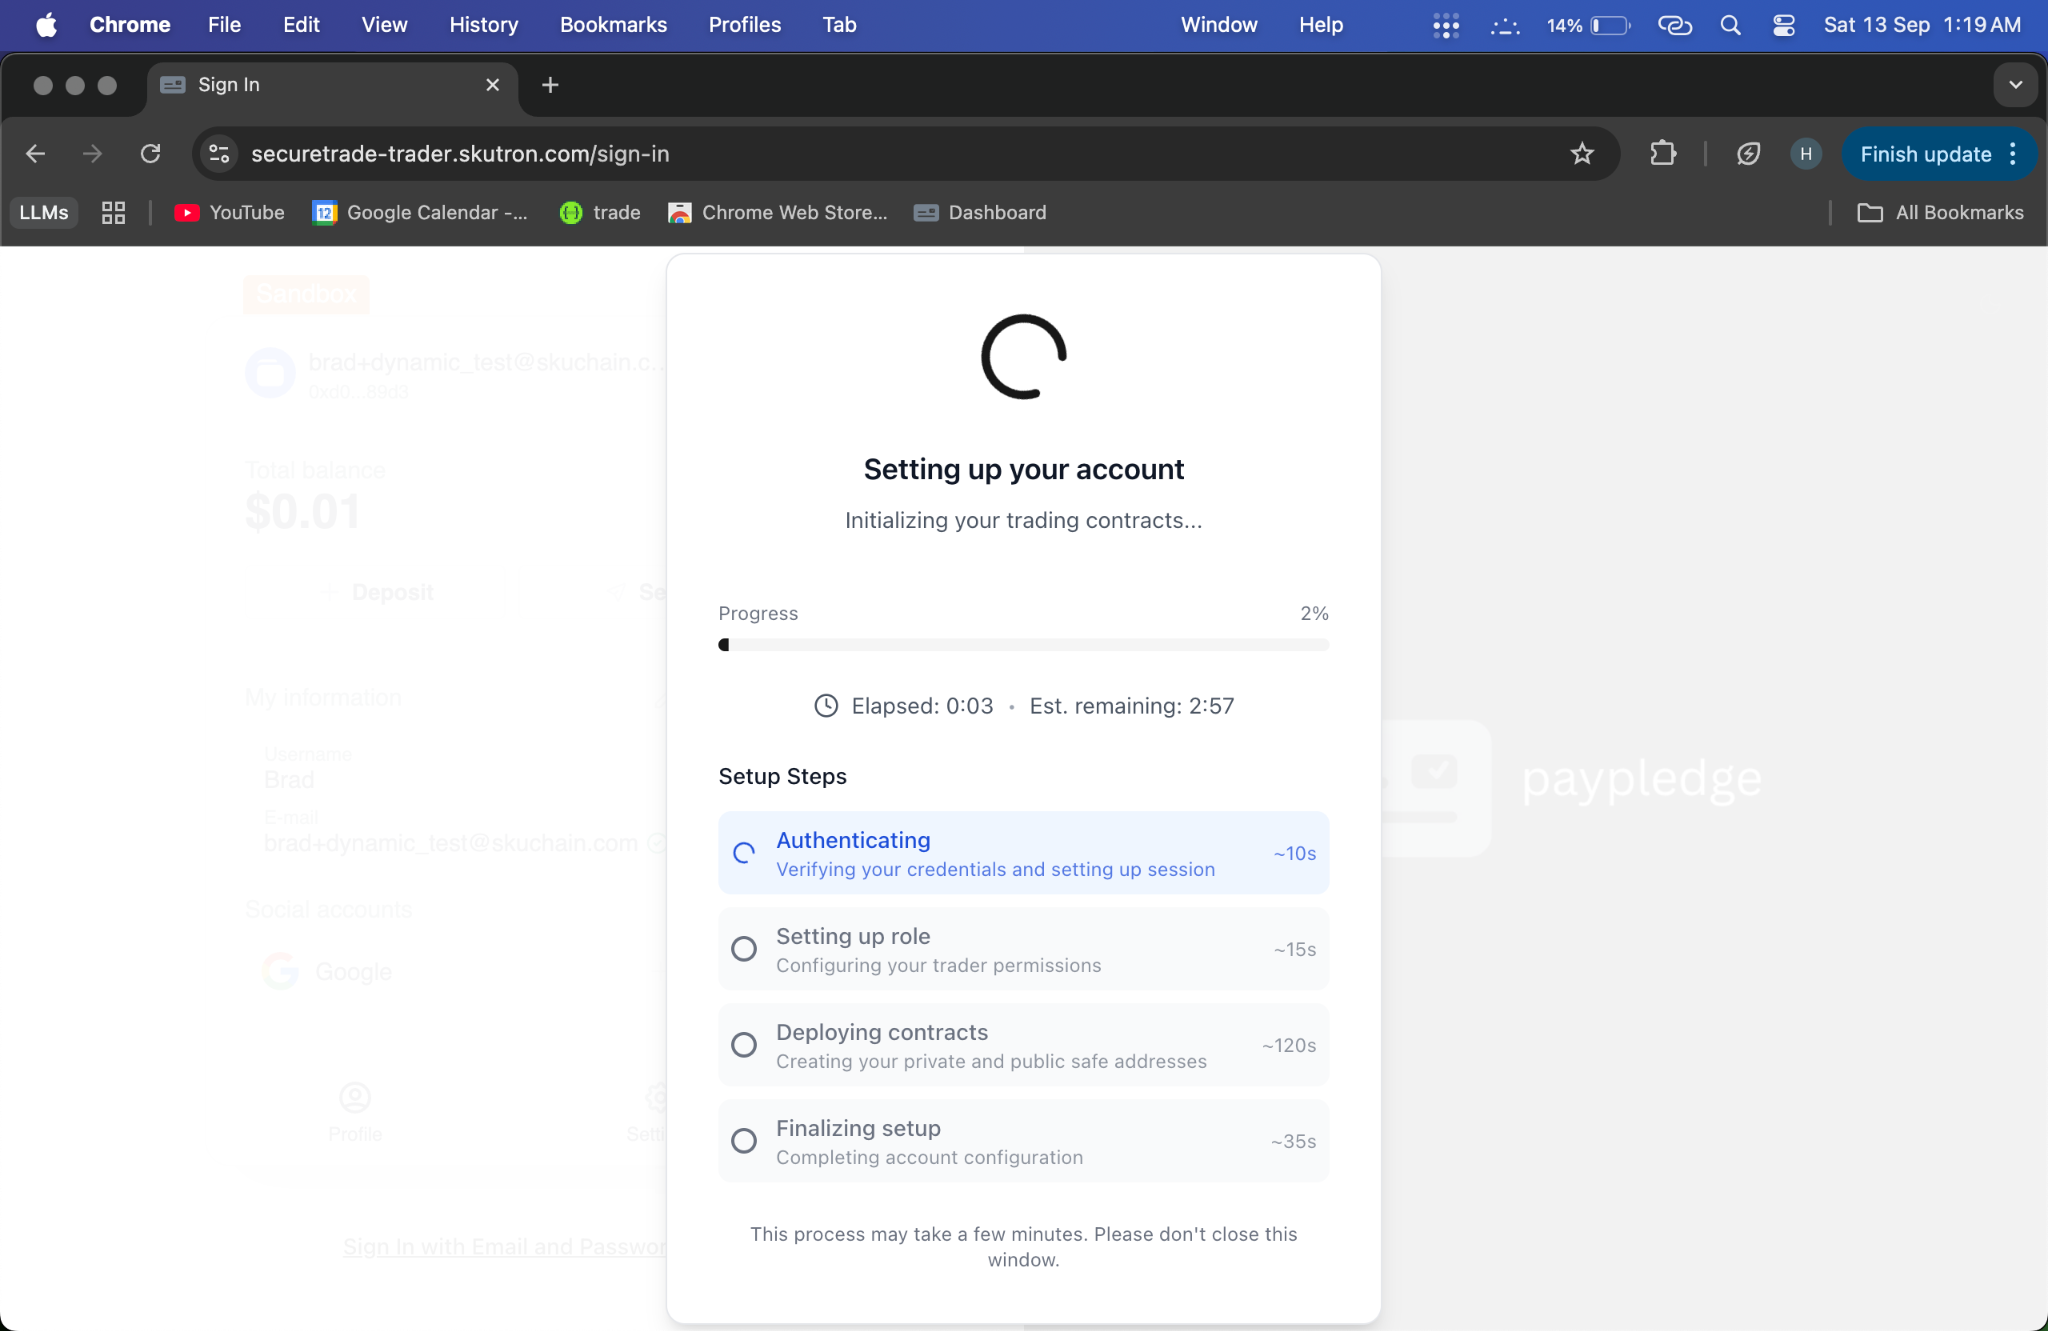
- Action: Buyer completes account setup and wallet verification
- System Response: Account activated with pre-funded wallet
- Screenshot:
- Video: Buyer Onboarding
Seller Onboarding
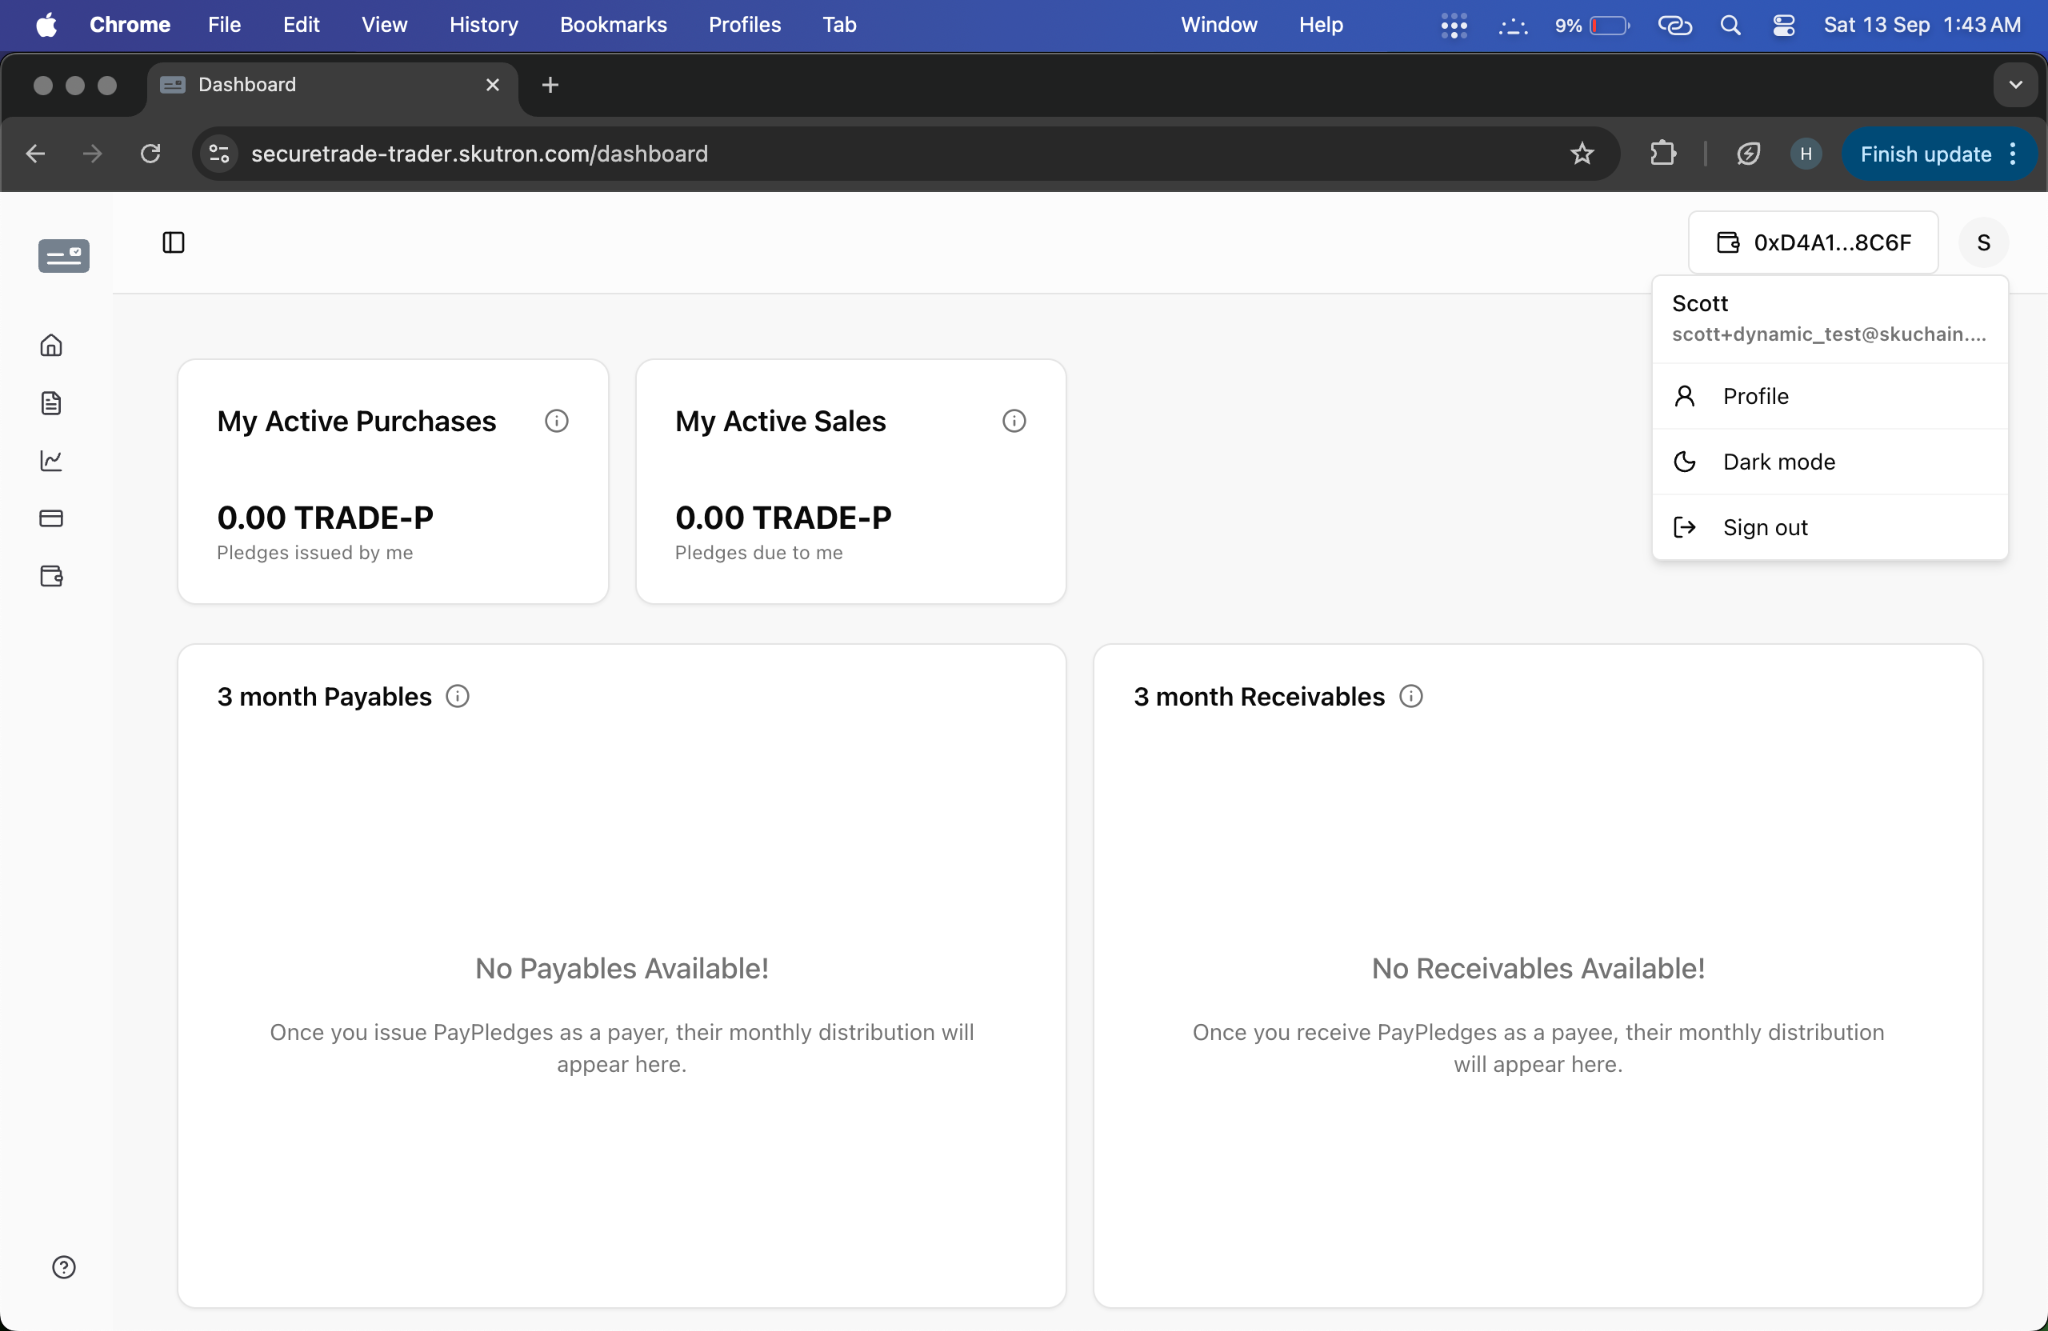
- Action: Seller completes account setup for PayPledge creation
- System Response: Seller account activated for transaction requests
- Screenshot:
- Video: Seller Onboarding
Resolver Onboarding
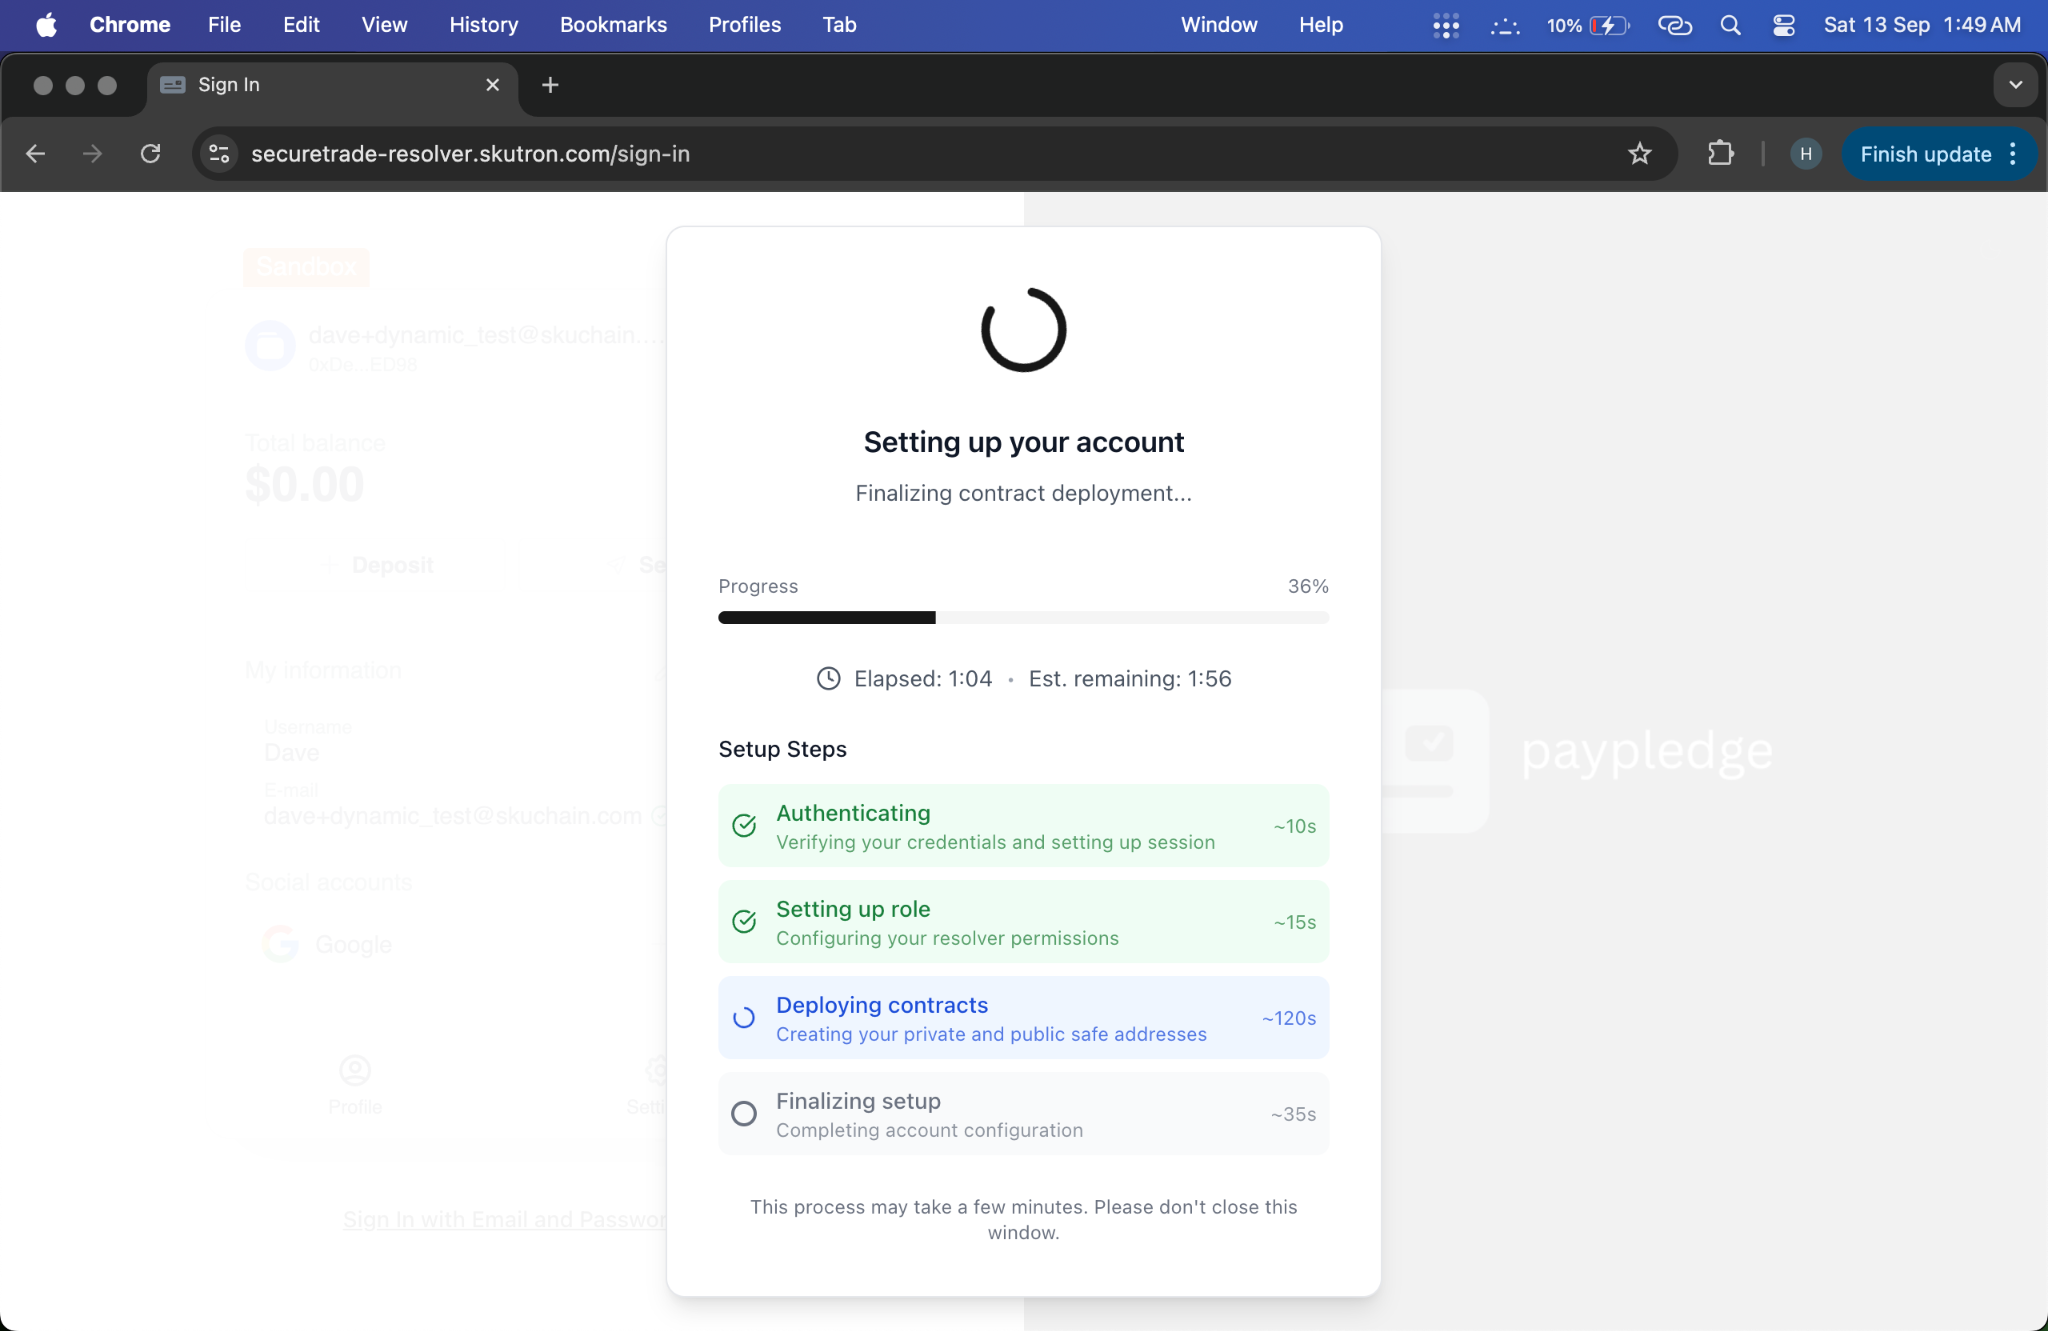
- Action: Resolver completes account setup for dispute resolution
- System Response: Resolver account activated for mediation
- Screenshot:
- Video: Resolver Onboarding
Underwriter Onboarding
- Action: Underwriter completes account setup for credit management
- System Response: Underwriter account activated for credit approval
- Video: Underwriter Onboarding
3. Account Verification
Balance and Status Confirmation
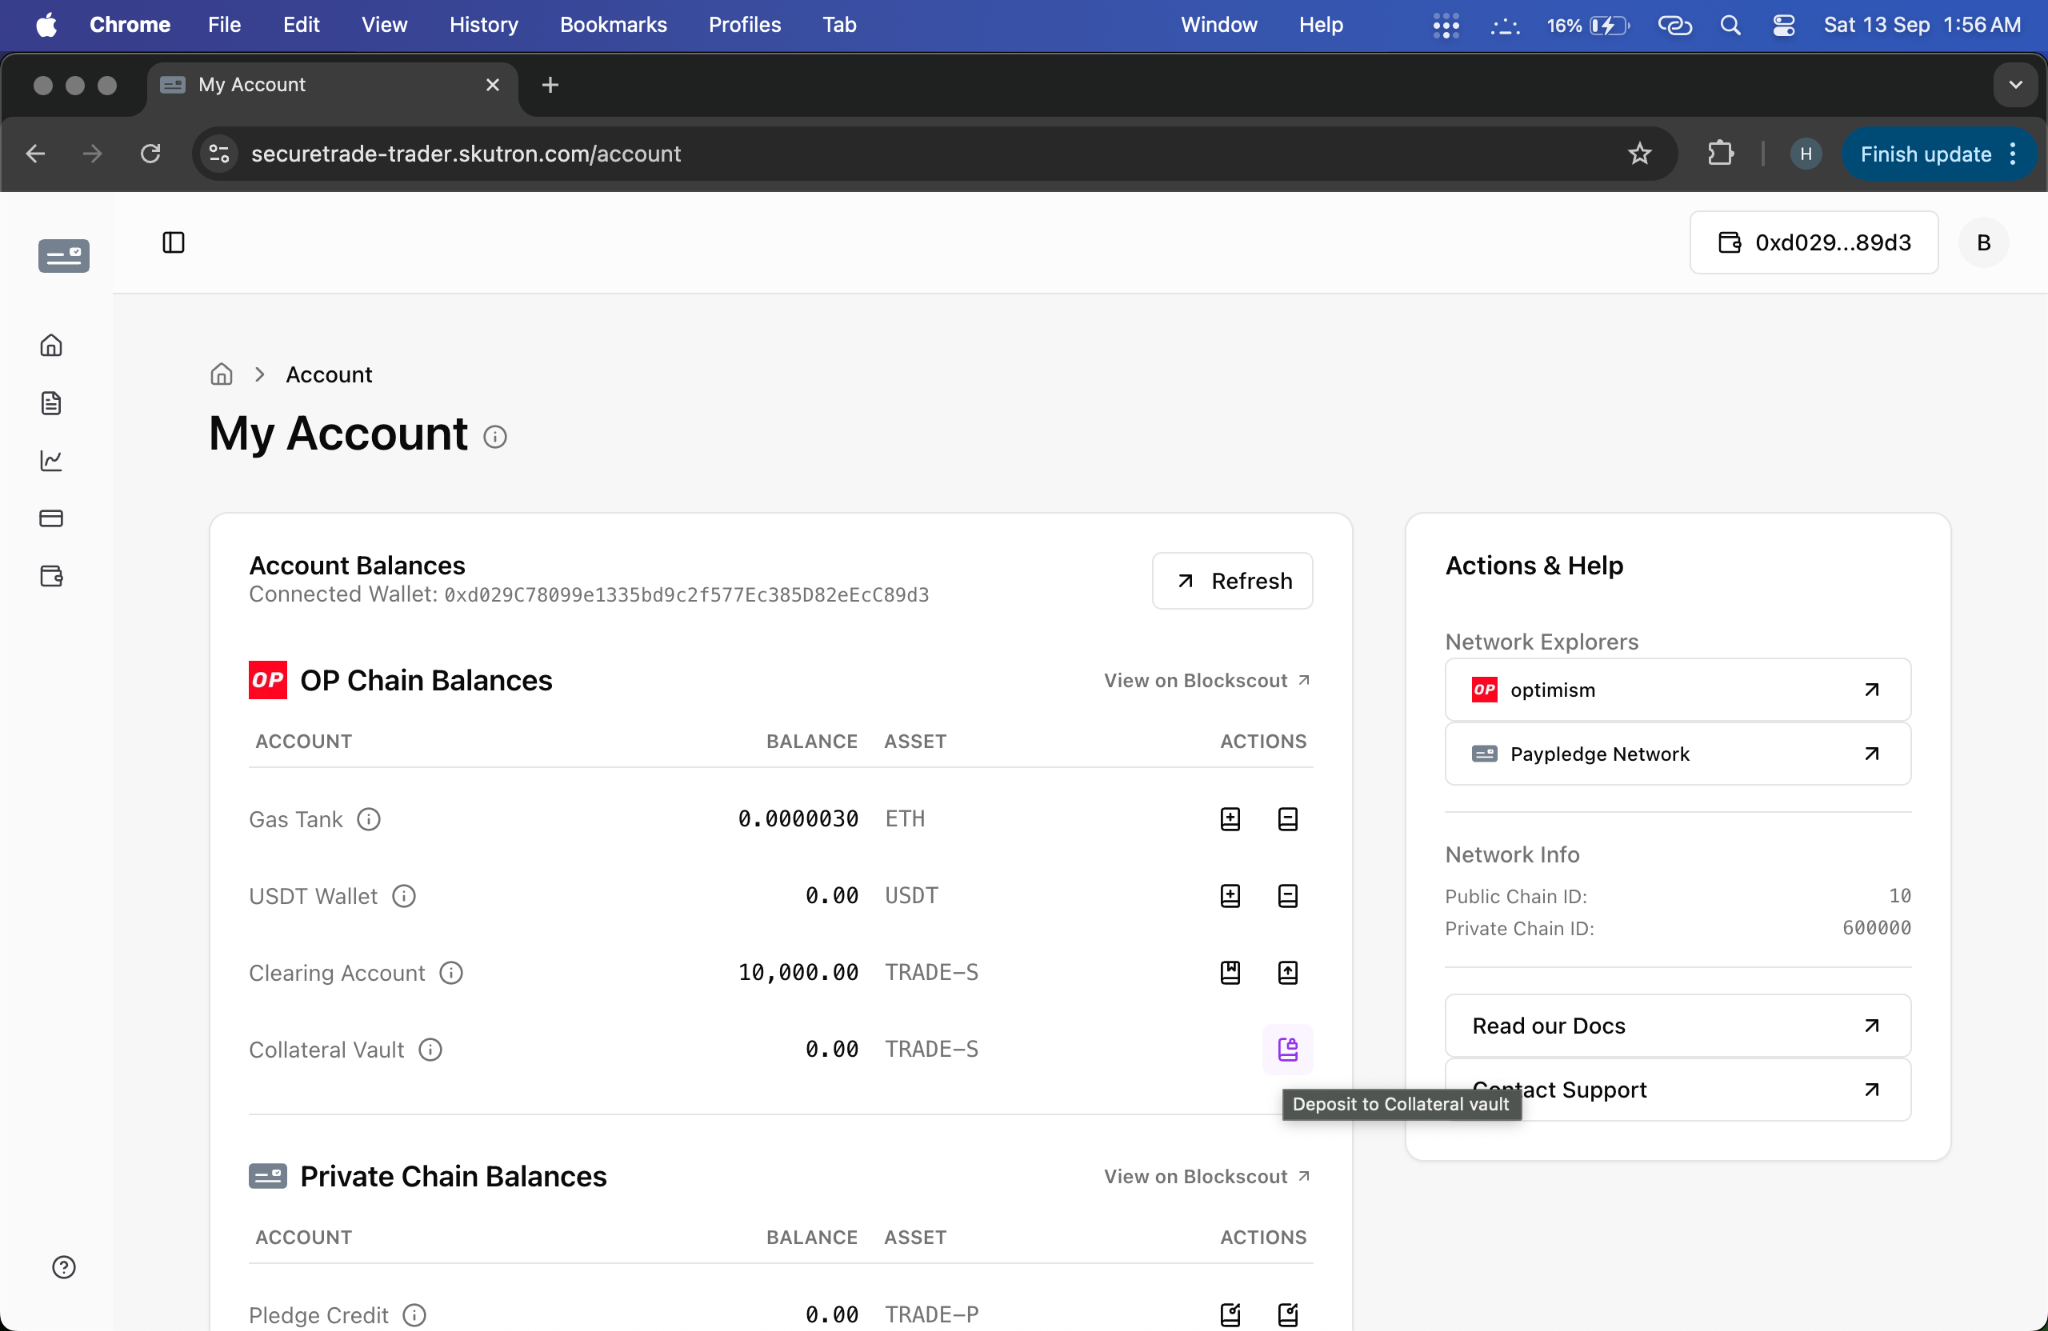
- Action: Users verify their account balances and status
- System Response: Displays ETH balance and collateral clearing account balance
- Screenshot:
Verification Steps:
- Check ETH balance for transaction fees
- Verify TRADE-S token balance for collateral
- Confirm account status is active
- Review available credit limits
4. Interface Access
Platform Navigation Setup
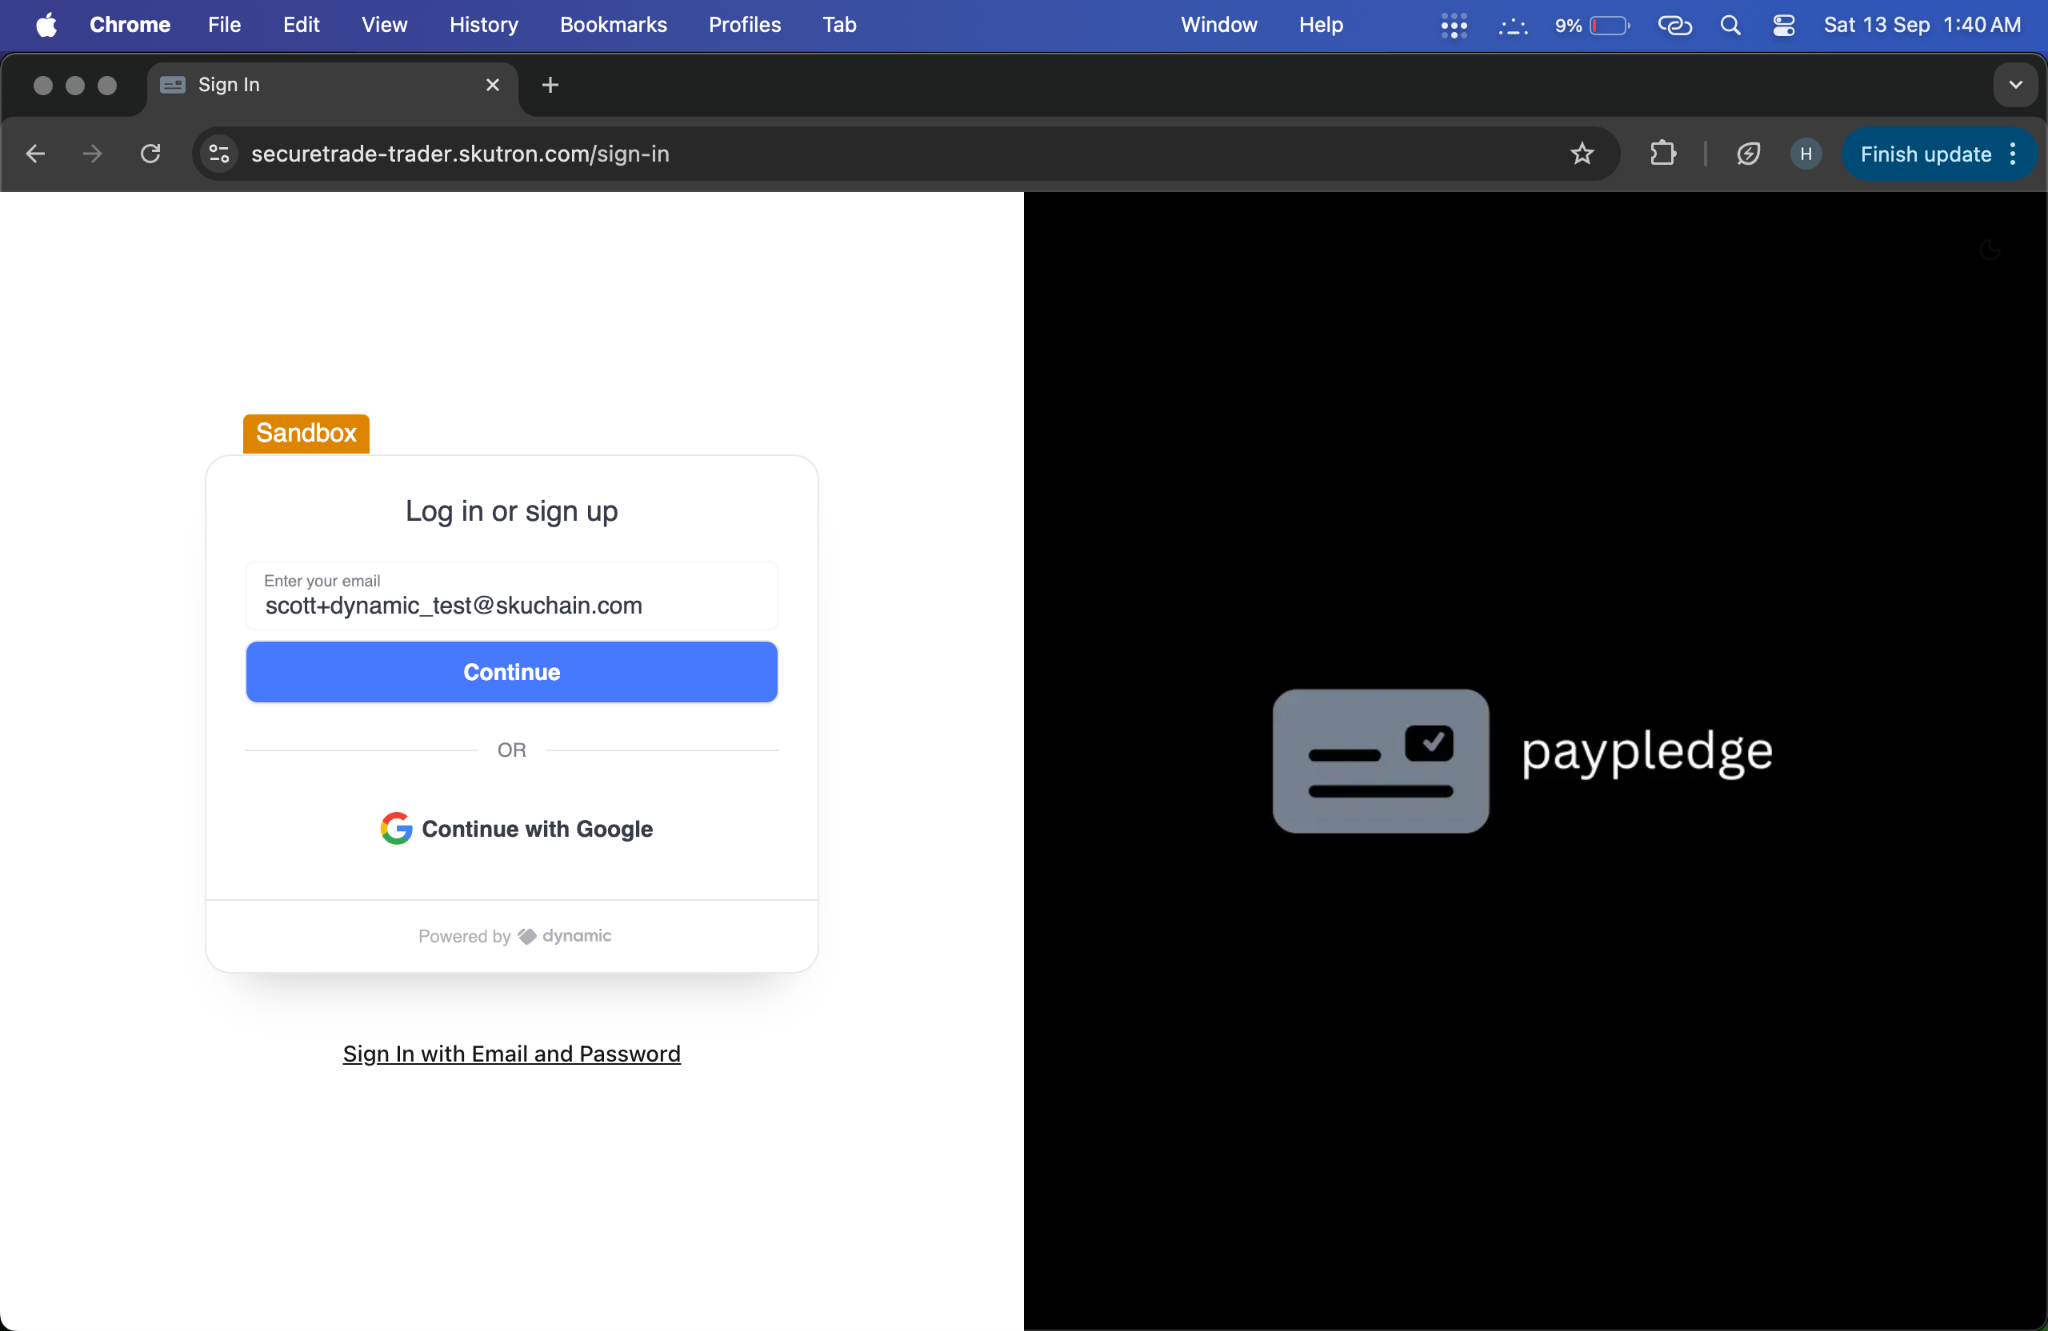
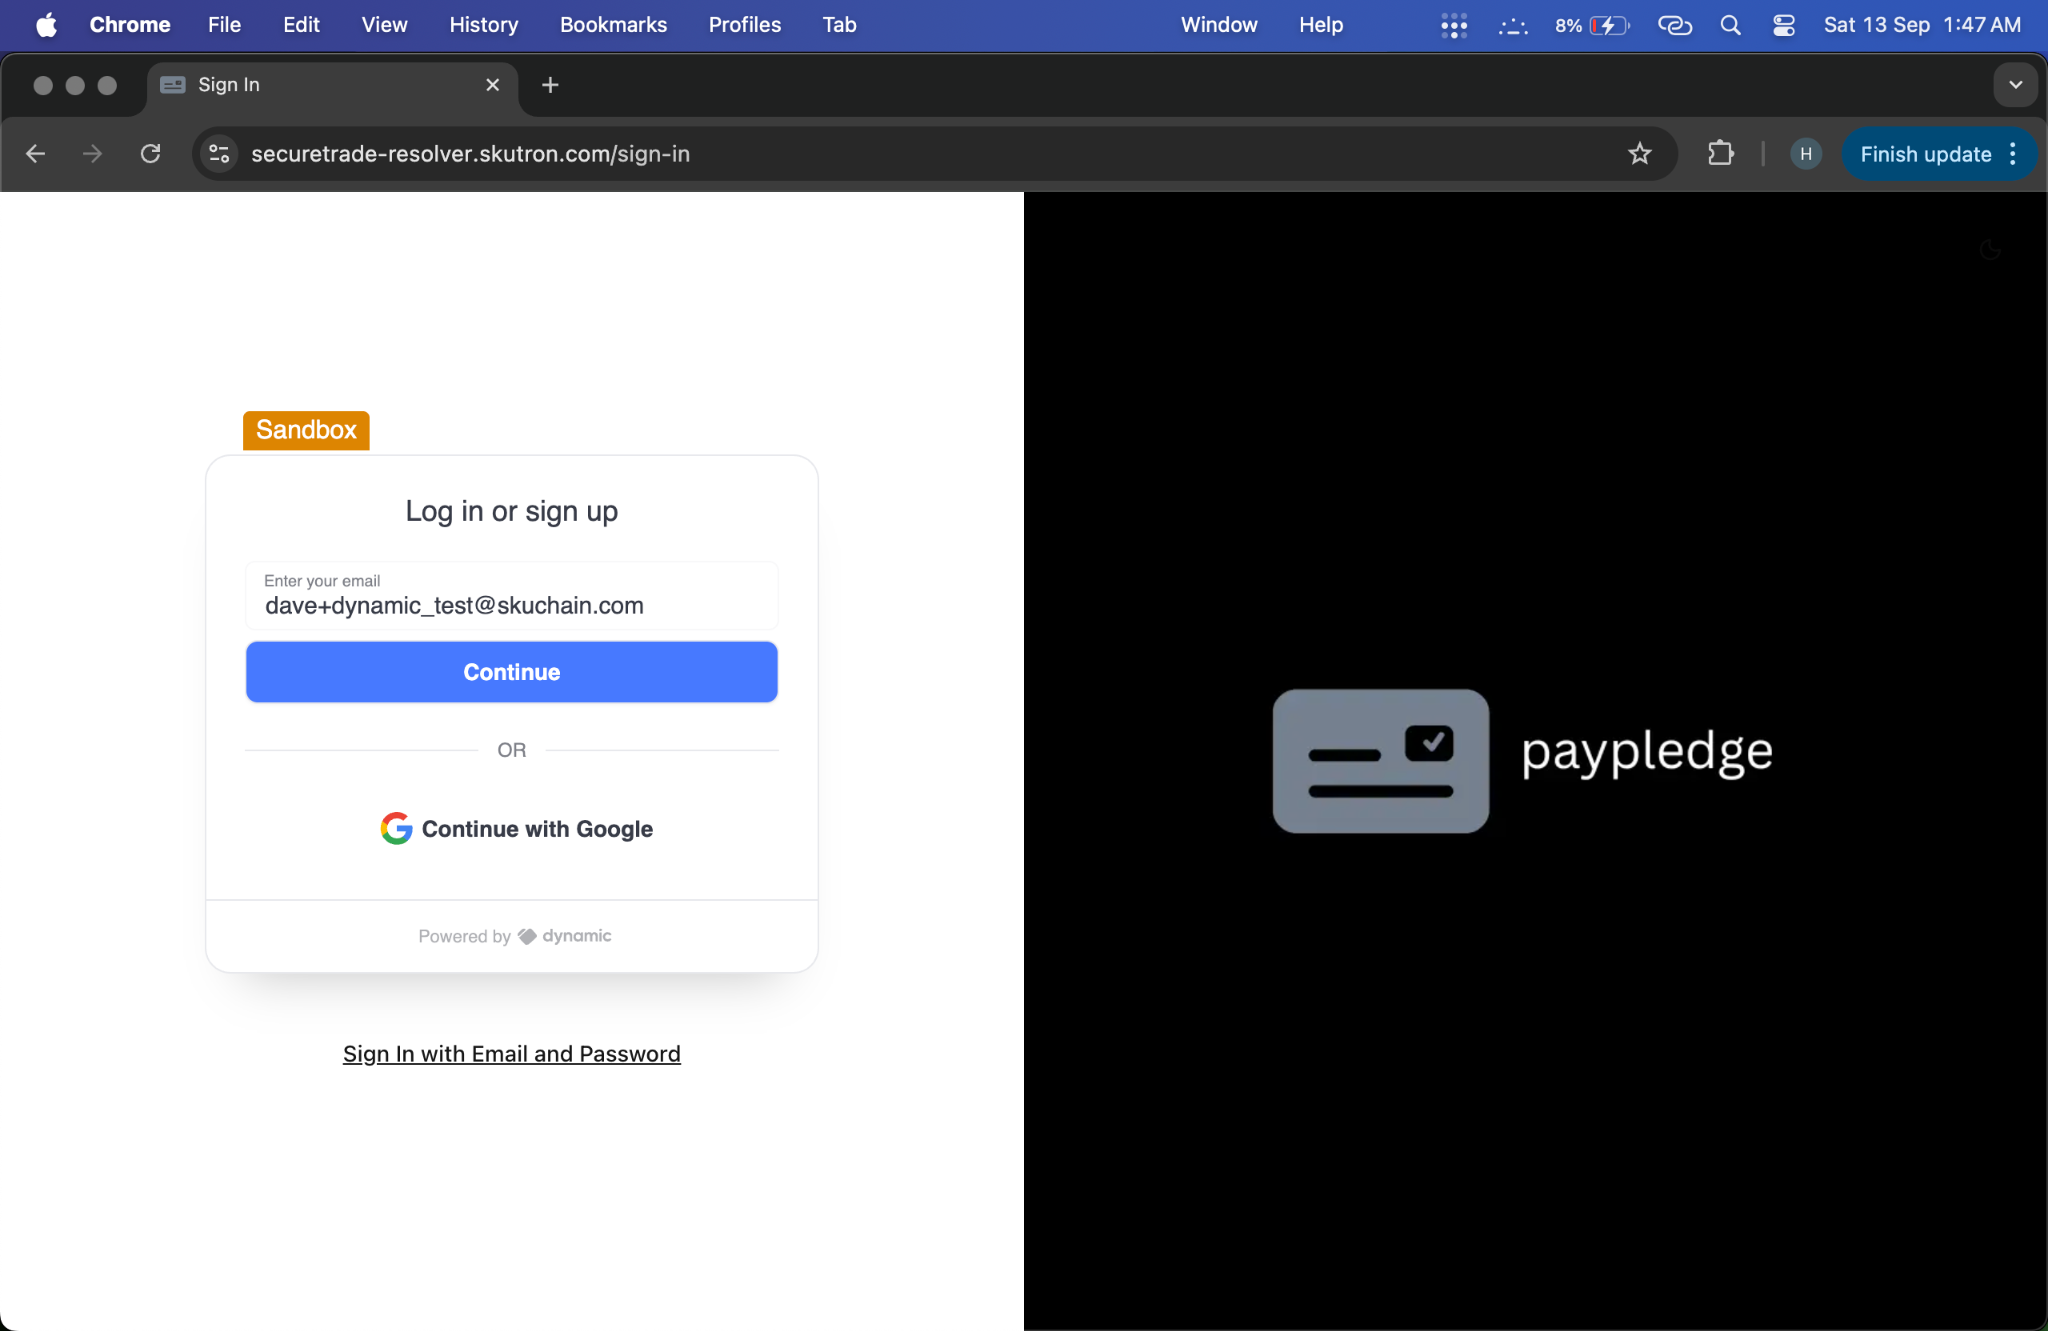
- Action: Users access their respective platform interfaces
- System Response: Dashboard loads with role-specific functionality
- Screenshots:
Phase Completion Criteria
✅ Ready for Next Phase When:
- All required user accounts are onboarded
- Wallets are funded with necessary tokens
- Account balances are verified
- Users can access their respective interfaces
- Initial permissions are configured
Key Features
- Email-based Registration: Simple onboarding without complex wallet setup
- Pre-funded Wallets: Immediate access to trading capabilities
- Role-based Access: Different interfaces for different user types
- Balance Verification: Clear visibility of available funds
- Account Status: Real-time account status monitoring
Common Issues & Solutions
Issue: Wallet Not Funded
- Solution: Contact admin to fund wallet with ETH and TRADE-S tokens
- Prevention: Verify funding before proceeding to next phase
Issue: Account Not Activated
- Solution: Complete all onboarding steps and verify email
- Prevention: Follow onboarding checklist completely
Issue: Interface Access Denied
- Solution: Verify user role permissions and account status
- Prevention: Ensure proper role assignment during onboarding
Next Steps
After completing Phase 1, users are ready to proceed to:
- Buyers: Phase 2: Credit Management
- Sellers: Phase 3: PayPledge Creation
- Resolvers: Phase 5: Settlement & Resolution
- Underwriters: Phase 2: Credit Management
Related Resources
- Complete Workflow Videos
- Base Scenario - Steps 1-7
- Flow with Resolver - Steps 1-7